If you're a fan of vintage film aesthetics, then you'll love the Kodachrome film simulation preset available in Adobe Lightroom. Kodachrome was a popular color transparency film produced by Kodak from 1935 to 2009, known for its vibrant colors and rich tones. While the film itself is no longer produced, you can still achieve that classic Kodachrome look with the help of this preset.
To use the Kodachrome film simulation preset in Lightroom, simply open your image and select the Develop module. From there, you can access the presets panel on the left side of the screen. Scroll down to the "Film Simulations" section and choose "Kodachrome." You can also create your own custom Kodachrome preset by adjusting the various sliders in the Develop module, such as contrast, saturation, and color balance.
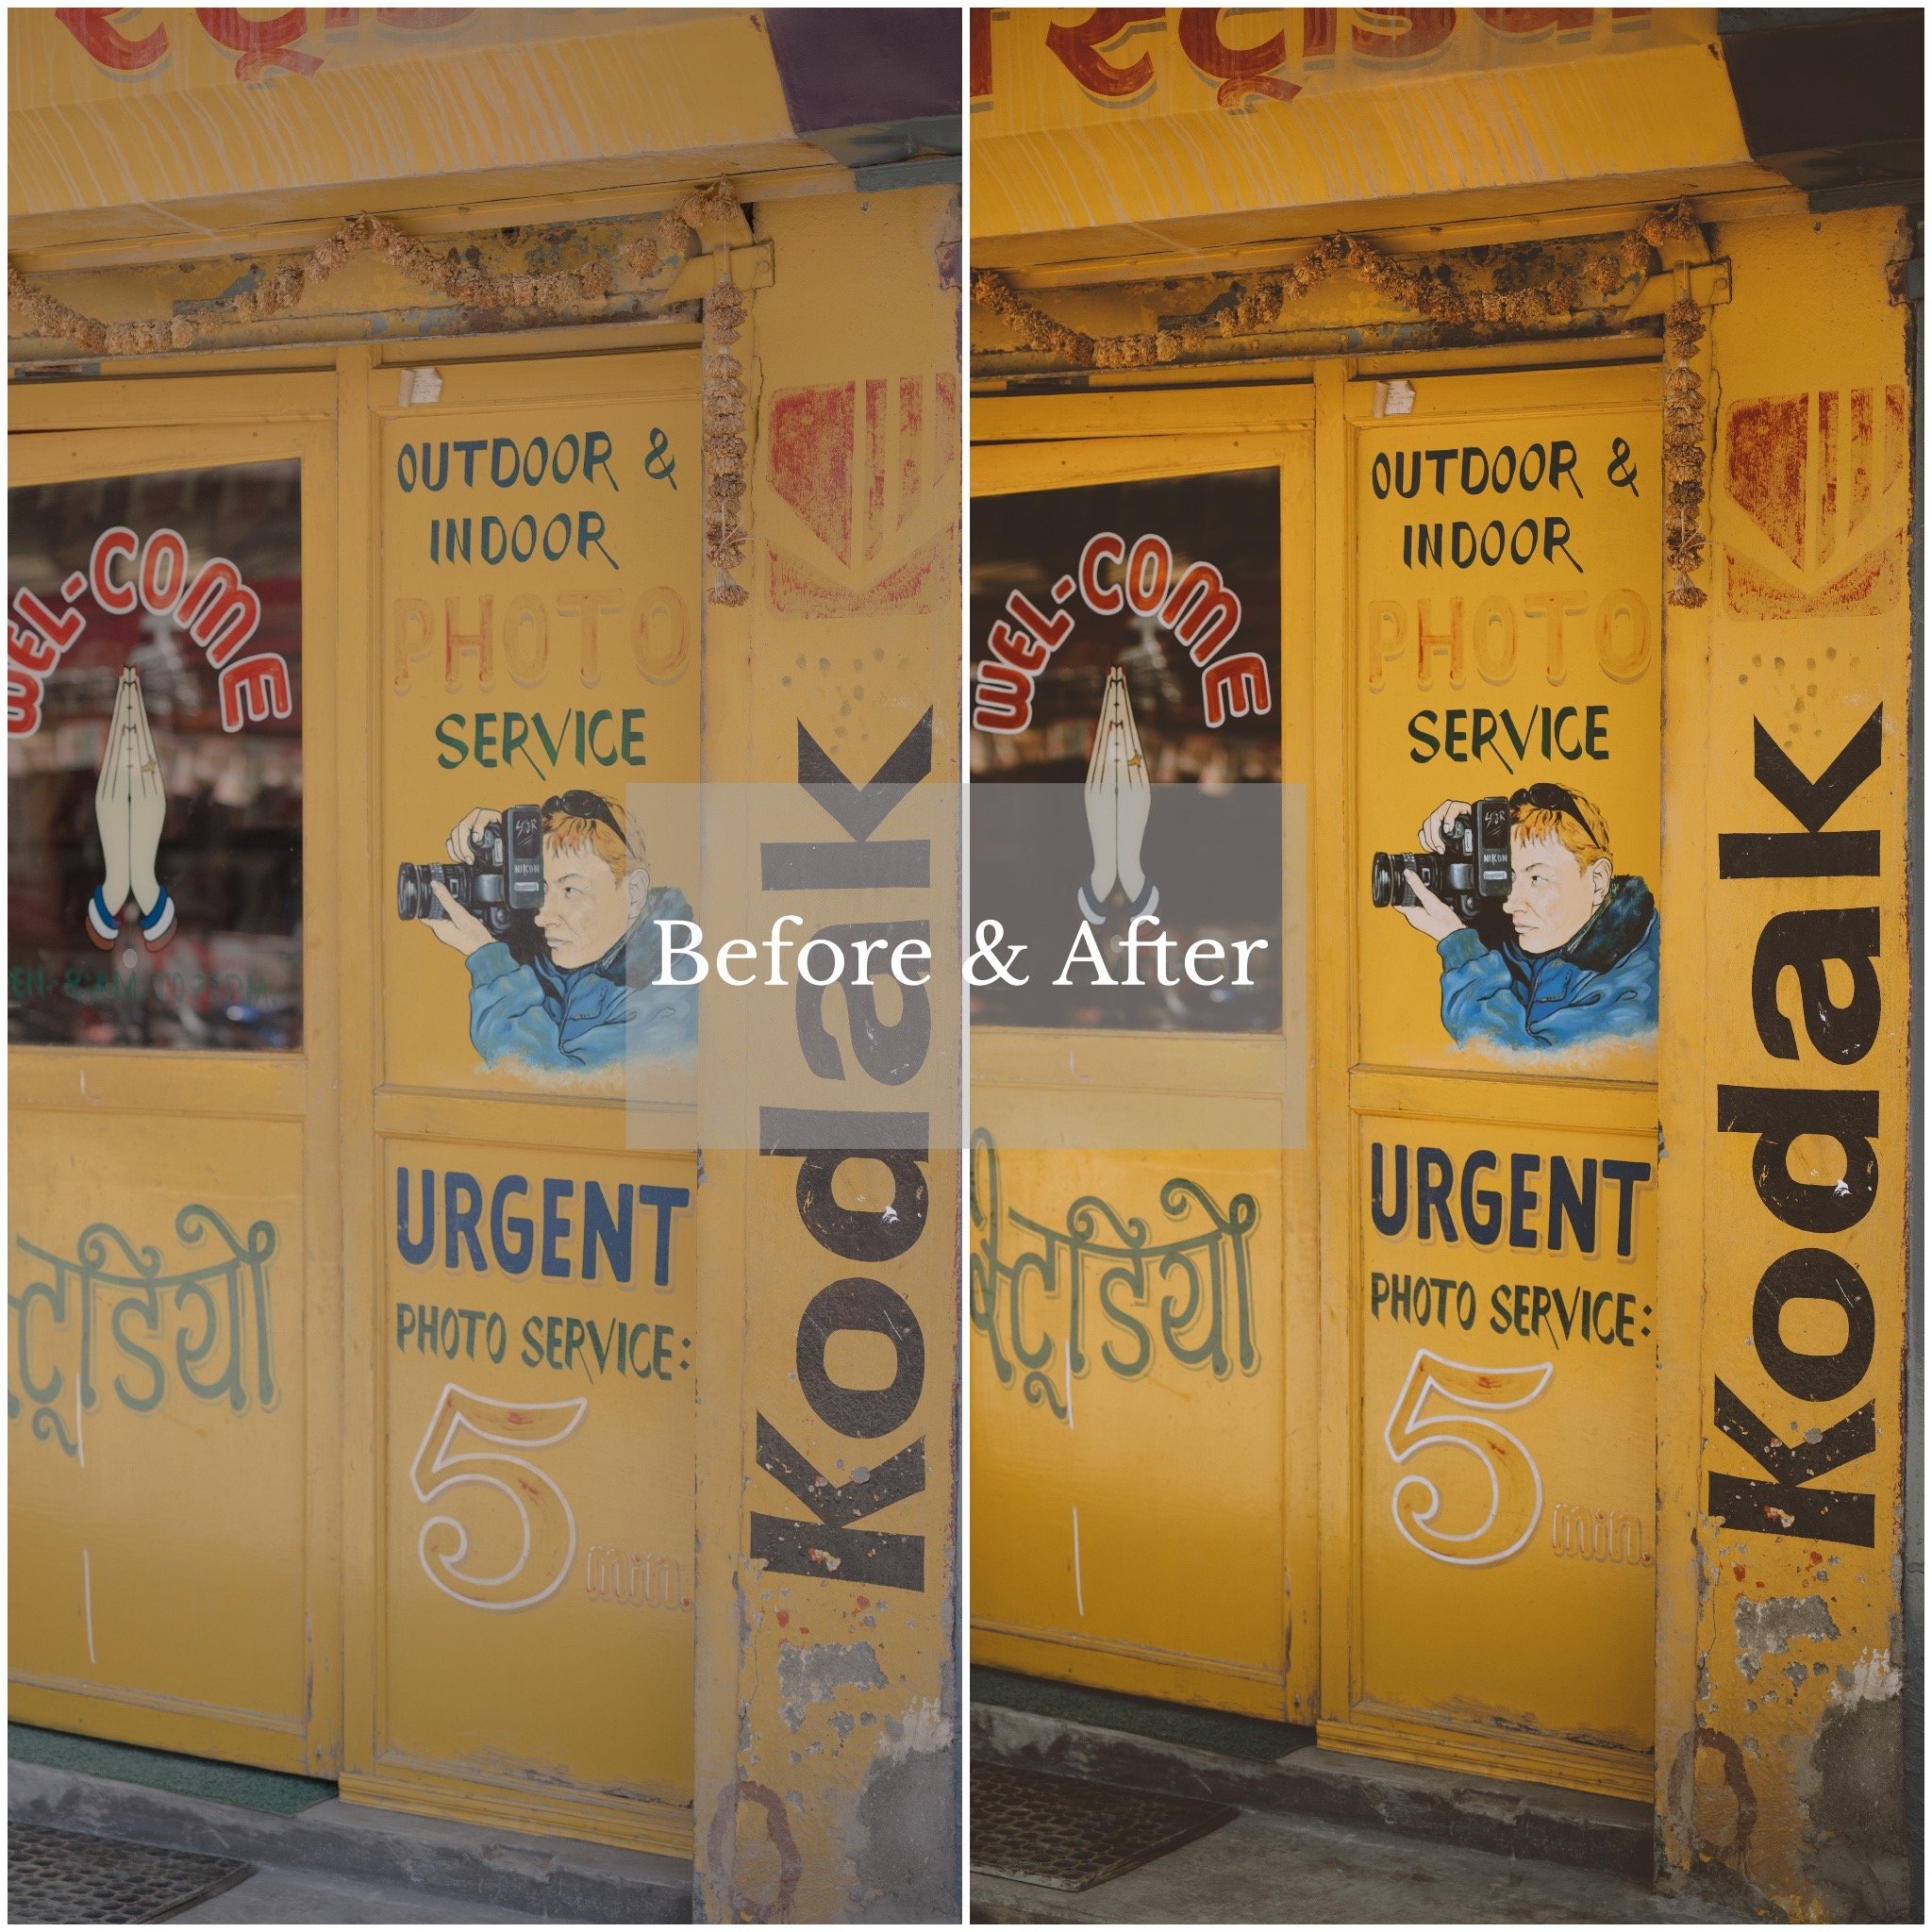
Once you've applied the Kodachrome preset, you'll notice an instant change in the overall tone and color of your image. The preset adds a warm, golden hue to the highlights and a cool, blueish tone to the shadows, creating a balanced and realistic look. It also increases the overall saturation of the image, giving it that classic Kodachrome pop.

One thing to keep in mind is that the Kodachrome preset works best with images that have strong, saturated colors to begin with. It may not be as effective on more muted or desaturated images. However, with a little tweaking and experimentation, you can achieve great results with the Kodachrome preset on a variety of different images.
If you're looking to add a touch of vintage film charm to your digital photos, the Kodachrome film simulation preset is a great option to try out in Adobe Lightroom. Whether you're a fan of the classic Kodachrome look or just want to experiment with different film aesthetics, this preset is a quick and easy way to achieve a unique and nostalgicically beautiful look in your images. So give it a try and see what magic you can create!